Once you have completed the installation process, you can launch SQList and install your license. The first time you launch SQList, you will have to go through the steps of installing your license.
Note: This document will guide you through the installation of a
30 Day Evaluation license; for other types of licenses, please read our support article on
installing, upgrading, or replacing a SQList license.
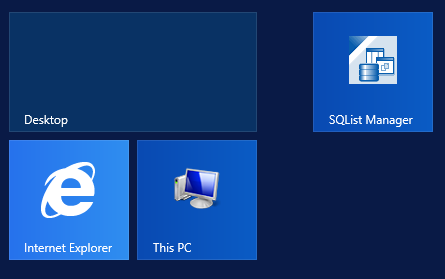
To begin with, launch
SQList Manager from the Start page:
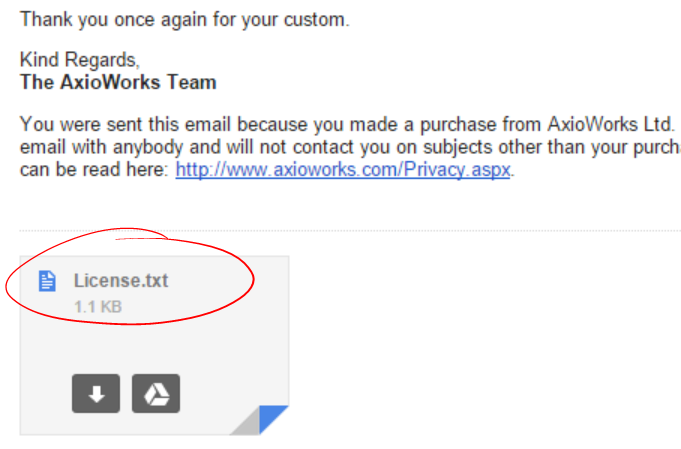
As you have just installed SQList, and there is therefore no license installed, you will be presented with a window to upload your license. By now, you should have received your license attached to the license confirmation email; here is an example of what it looks like in Gmail:
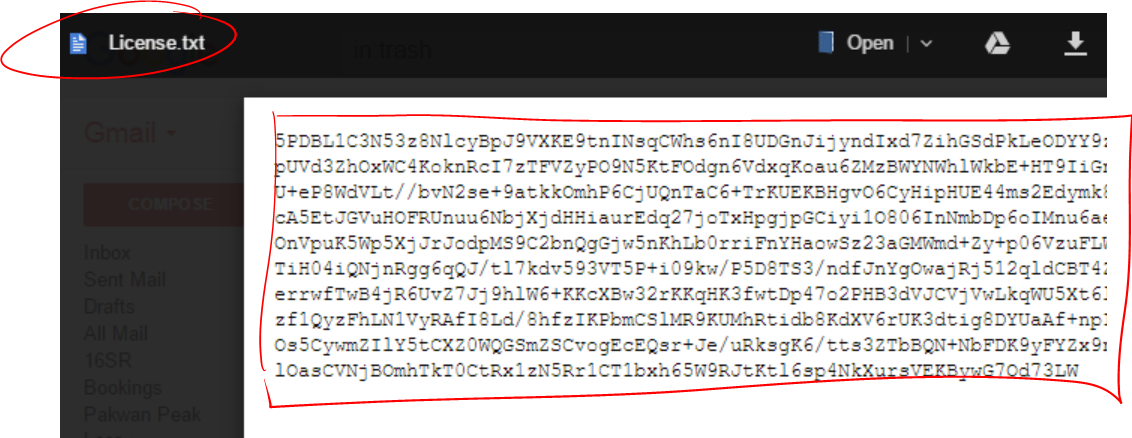
There are two ways you can upload our license: you can either copy&paste the encrypted license text directly from your email directly into the window, or you can save the attachment onto your disk and use the "Upload a file" link to upload it.
This is an example of encrypted SQList license;
if you choose to copy&paste, make sure that you copy the entire text and you do not include any extra characters.
Whether you choose to copy&paste the text, or save&upload the file, the result will be the same. This is what your window should look like once you are done:
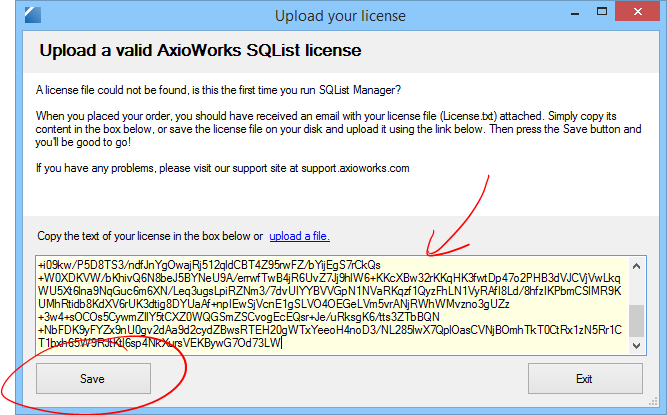
At this point, click the "Save" button to store your license, at which point you will be presented the the
SQList Manager's UI, prompting you you to start your first replication.
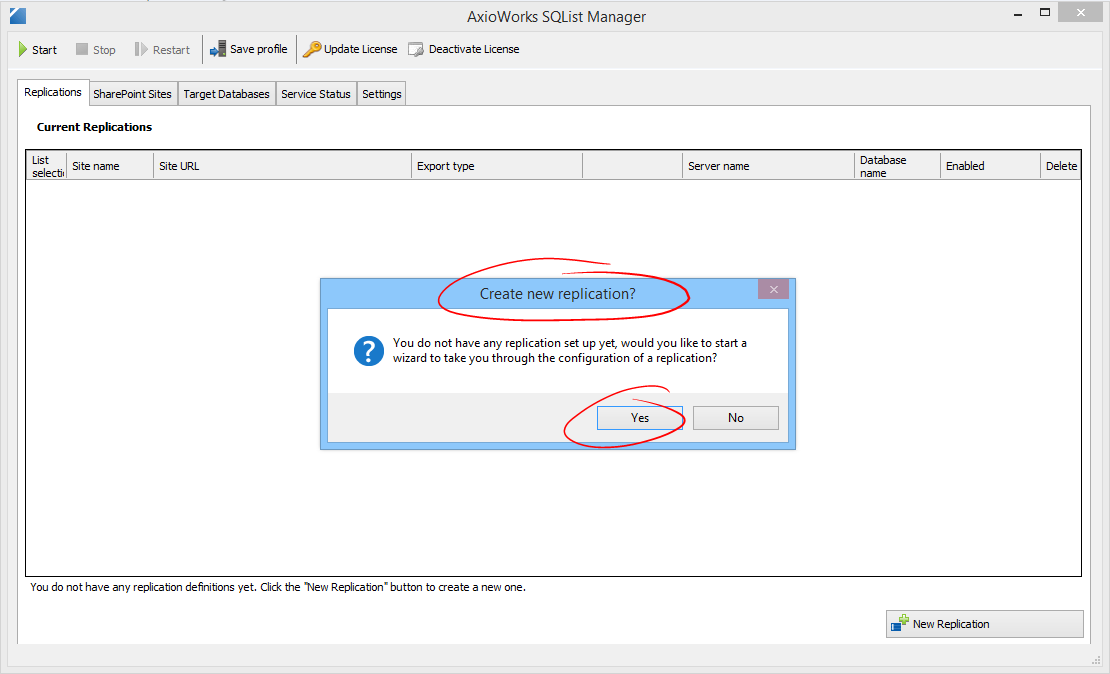
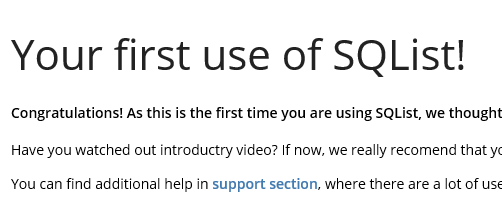
A new browser windows will also be opened, with useful links to support articles and videos (only the first tie, it won't be opened the subsequent times you launch SQList Manager).
Well done! You have installed SQList and uploaded your license. Time to move on to the good stuff now, and
set up your first replication!