In this article, you will see how to replicate SharePoint lists and libraries to normalised SQL Server tables using the SQList replication wizard.
Firstly, it is worth going through some of the jargon used in this document:
- A site definition contains the details necessary to connect to a single SharePoint site (URL, credentials, etc.). When you create a site definition, you will also give it a name, which has to be unique.
- A database connection contains the details necessary to connect to a SQL Server database (server name, database name, credentials, etc)
- A replication defines which lists, libraries, and subsites (where applicable) are exported from a one SharePoint site (defined by a site definition) to a SQL Server database (defined by a database connection).
Important: you cannot have two replications that use the same site definition and database connection.
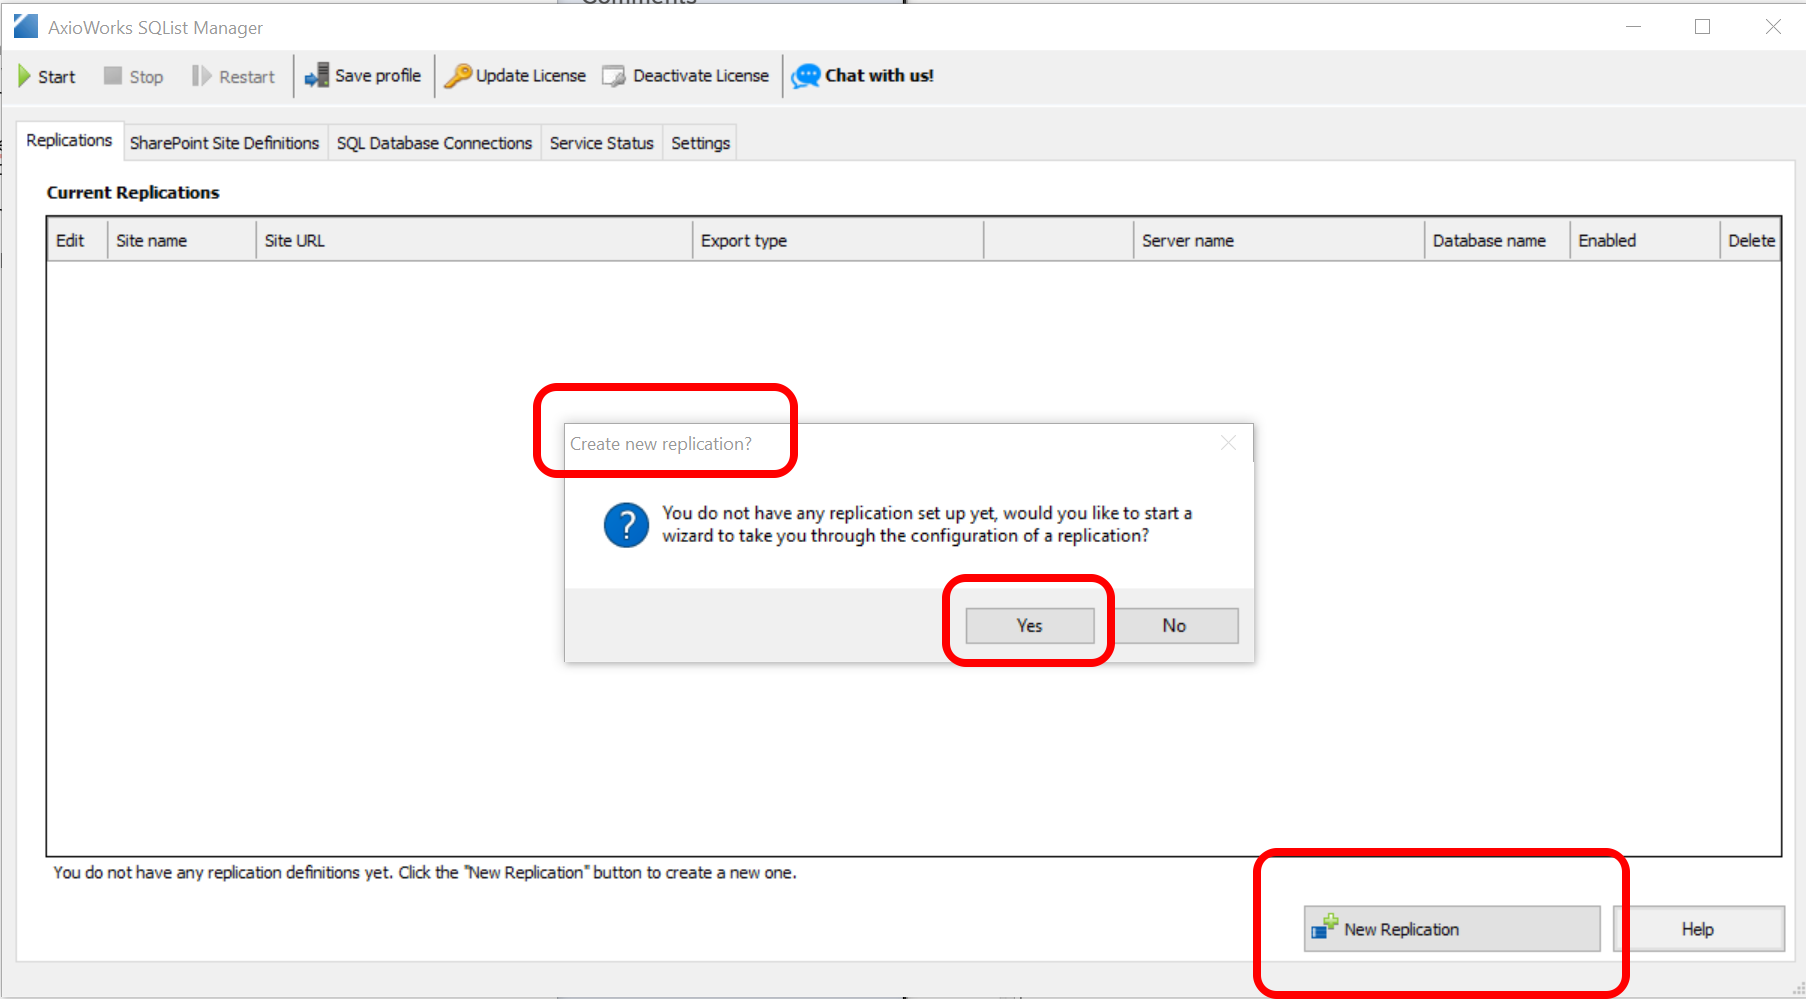
If you don't have any replication defined, SQList Manager will prompt you so start the wizard to create one. Alternatively, click the "New Replication" button.

The first step in the wizard is to create a new
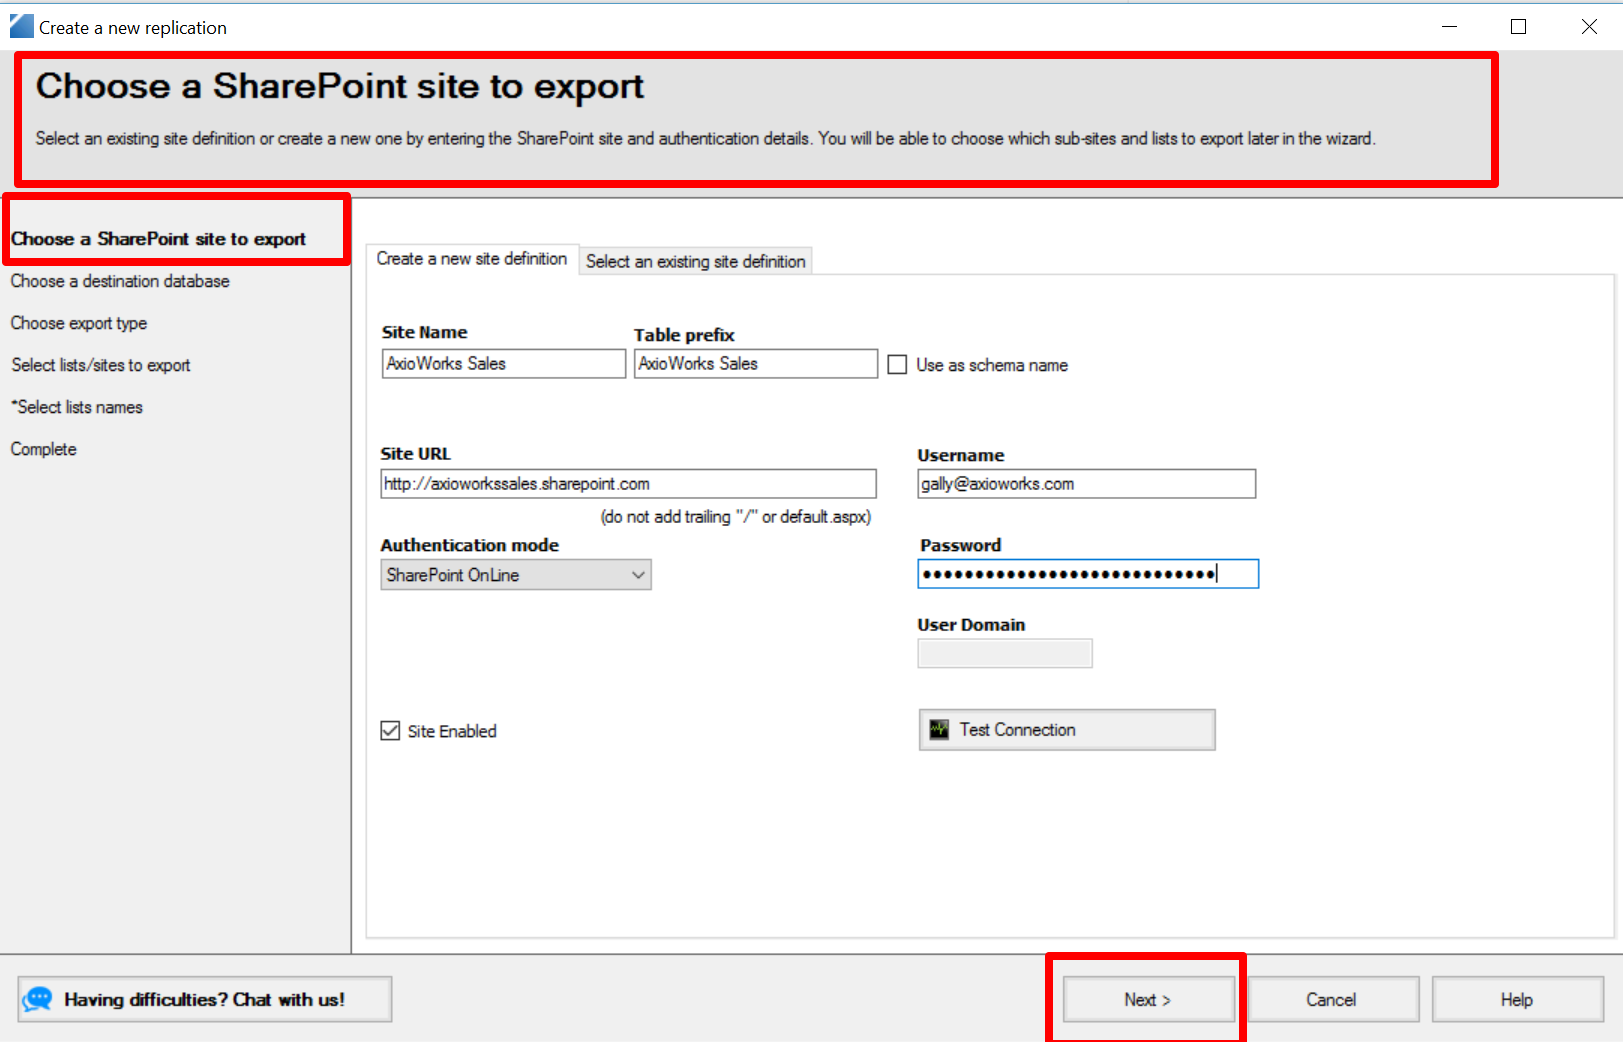
site definition, or select an existing one if you have defined it previously. Once you have entered the details to connect to the SharePoint site, you can use the "Test Connection" to ensure they are correct and SQList can connect to the site (SQList connects to the SharePoint site's web services via HTTP).
For a detailed overview of all the options on this page please visit
Choose a SharePoint site to export

Once you have completed these steps click Next
Step 2: Enter the details of the SQL Server database onto which to export the SharePoint lists
In this step you create a new
database connection, or select an existing one if you have defined it previously. Once you have entered the details to connect to the SQL Server database, you can use the "Test Connection" to ensure they are correct and SQList can connect to the database (SQList connects to the SQL Server database using standard .NET connection via TCP).
The database connection you create will be used in the replication as the destination database of the export, and it will also be saved for future uses.
For a detailed overview of all the options on this page please visit
Connect to an existing SQL database, or create a new connectionOnce you entered the details, click "Next >" to go to the next step, to select what to export.
Step 3: Select what type of export you want to use
In this step in the wizard you decide what you want to export. SQList supports two main types of exports:
- Export lists and libraries from this site only: this is the most common type and it is used to export lists and libraries that belong directly to the site you have defined in the site definition;
- Export from this site and its sub-sites: in this export SQList lets you select lists and libraries across site you have defined in the site definition and its sub-sites; this more complex type of export is described in detail in our "How To" section.
If you chose
Export lists and libraries from this site only then continue to this article for the details of step 4:
Replication Wizard Part 2 - Export lists and libraries from this site onlyIf you chose
Export lists and libraries from this site only then continue to this article for the details of step 4:
Replication wizard part 2 - Export from this site and its sub-sites